
I recently spent an amazing couple of days at the King Arthur Baking Education Center in Norwich, Vermont. My friend, Natashe, and I took a jam and baking course there with Cathy Barrow, of Mrs. Wheelbarrow’s Kitchen and author of “Mrs. Wheelbarrow’s Practical Pantry”. The facilities were great and the King Arthur staff were attentive, friendly and so helpful. And I was kind of like a kid in a candy store when I visited their store. I had to practice a lot of restraint to not buy up the whole store, but still ended up walking away with several new kitchen tools, scones mixes and, of course, flour, which they are known for, after all.
The course, under Cathy’s instruction, was lovely and the time just flew. We covered a lot of ground over the two half-day course, with both jam making and canning and pastry and bread baking.

Cathy Barrow’s method of jam making, for most fruit jams (notably, this will not work for cherries), calls for 3 pounds of fruit, 3 cups of sugar and the juice of one lemon (3:3:1). This is, honestly, a really simple recipe that is easy to memorize and really helpful to remember when picking up fruit at the farmer’s market. Easy changes can be made to this general recipe, such as including small amounts of spices, herbs or liquor as these won’t adversely affect the pH level of your final product, but will still make it your own. I really love this idea! While I’m sure I’ll still do research on recipes before heading out to the farmer’s markets, I like having a good base recipe that I can creatively make my own.
I also like her method of jam making, which calls for macerating the fruit with the sugar and lemon for a few hours at room temperature or in the refrigerator overnight, which allows the fruit to develop a beautiful syrup. I’ve done this for some recipes in the past, including sour cherries, but I’ll be incorporating this method more often.
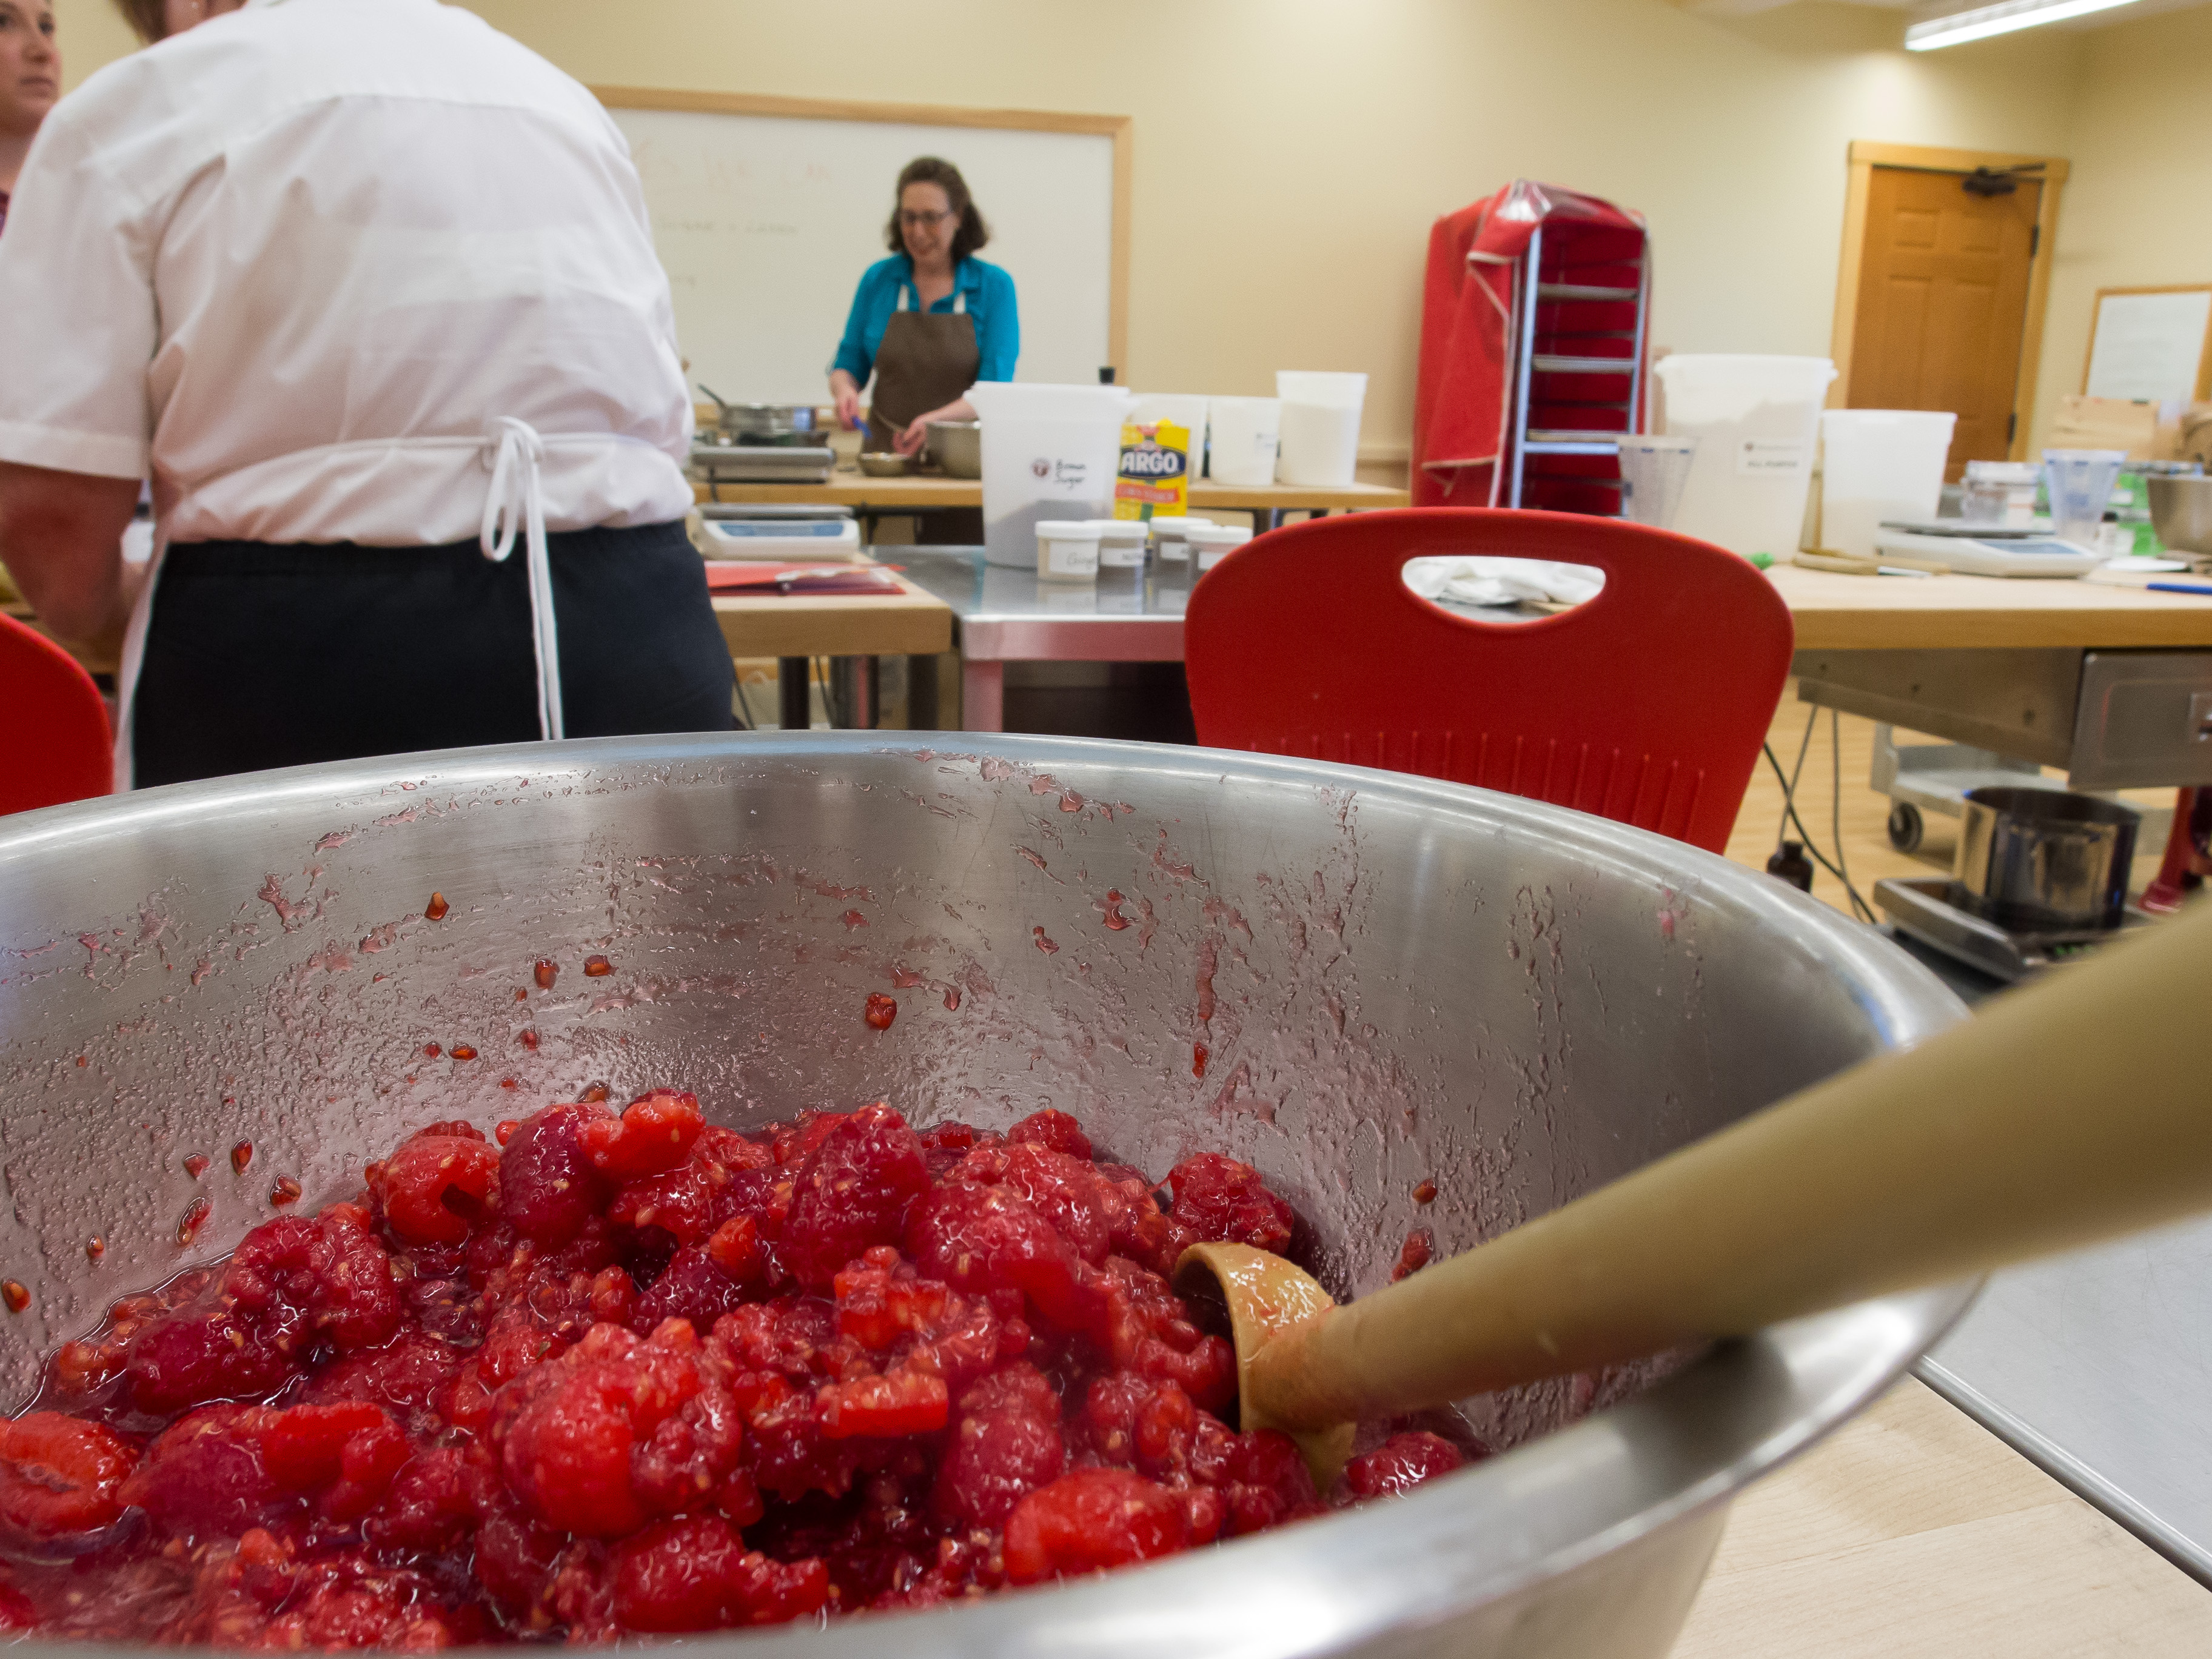
The syrup is strained from the fruit, boiled until it reaches 220° (you’ll need a candy thermometer for this), then the fruit is added and boiled until the water in the fruit has boiled off and it reaches a jammy state and runs slowly off the back of a spoon and wrinkles when slightly cooled. We tried this method with raspberry jam and the results worked beautifully. One thing I like about this method is you can make the jam in stages, with macerating the fruit for anywhere between a couple hours, up to a day ahead. It breaks up the canning process so you don’t have to commit to a long time block to do everything all at once. Very helpful when I try to make a jam at home in the time frame of a toddler nap!
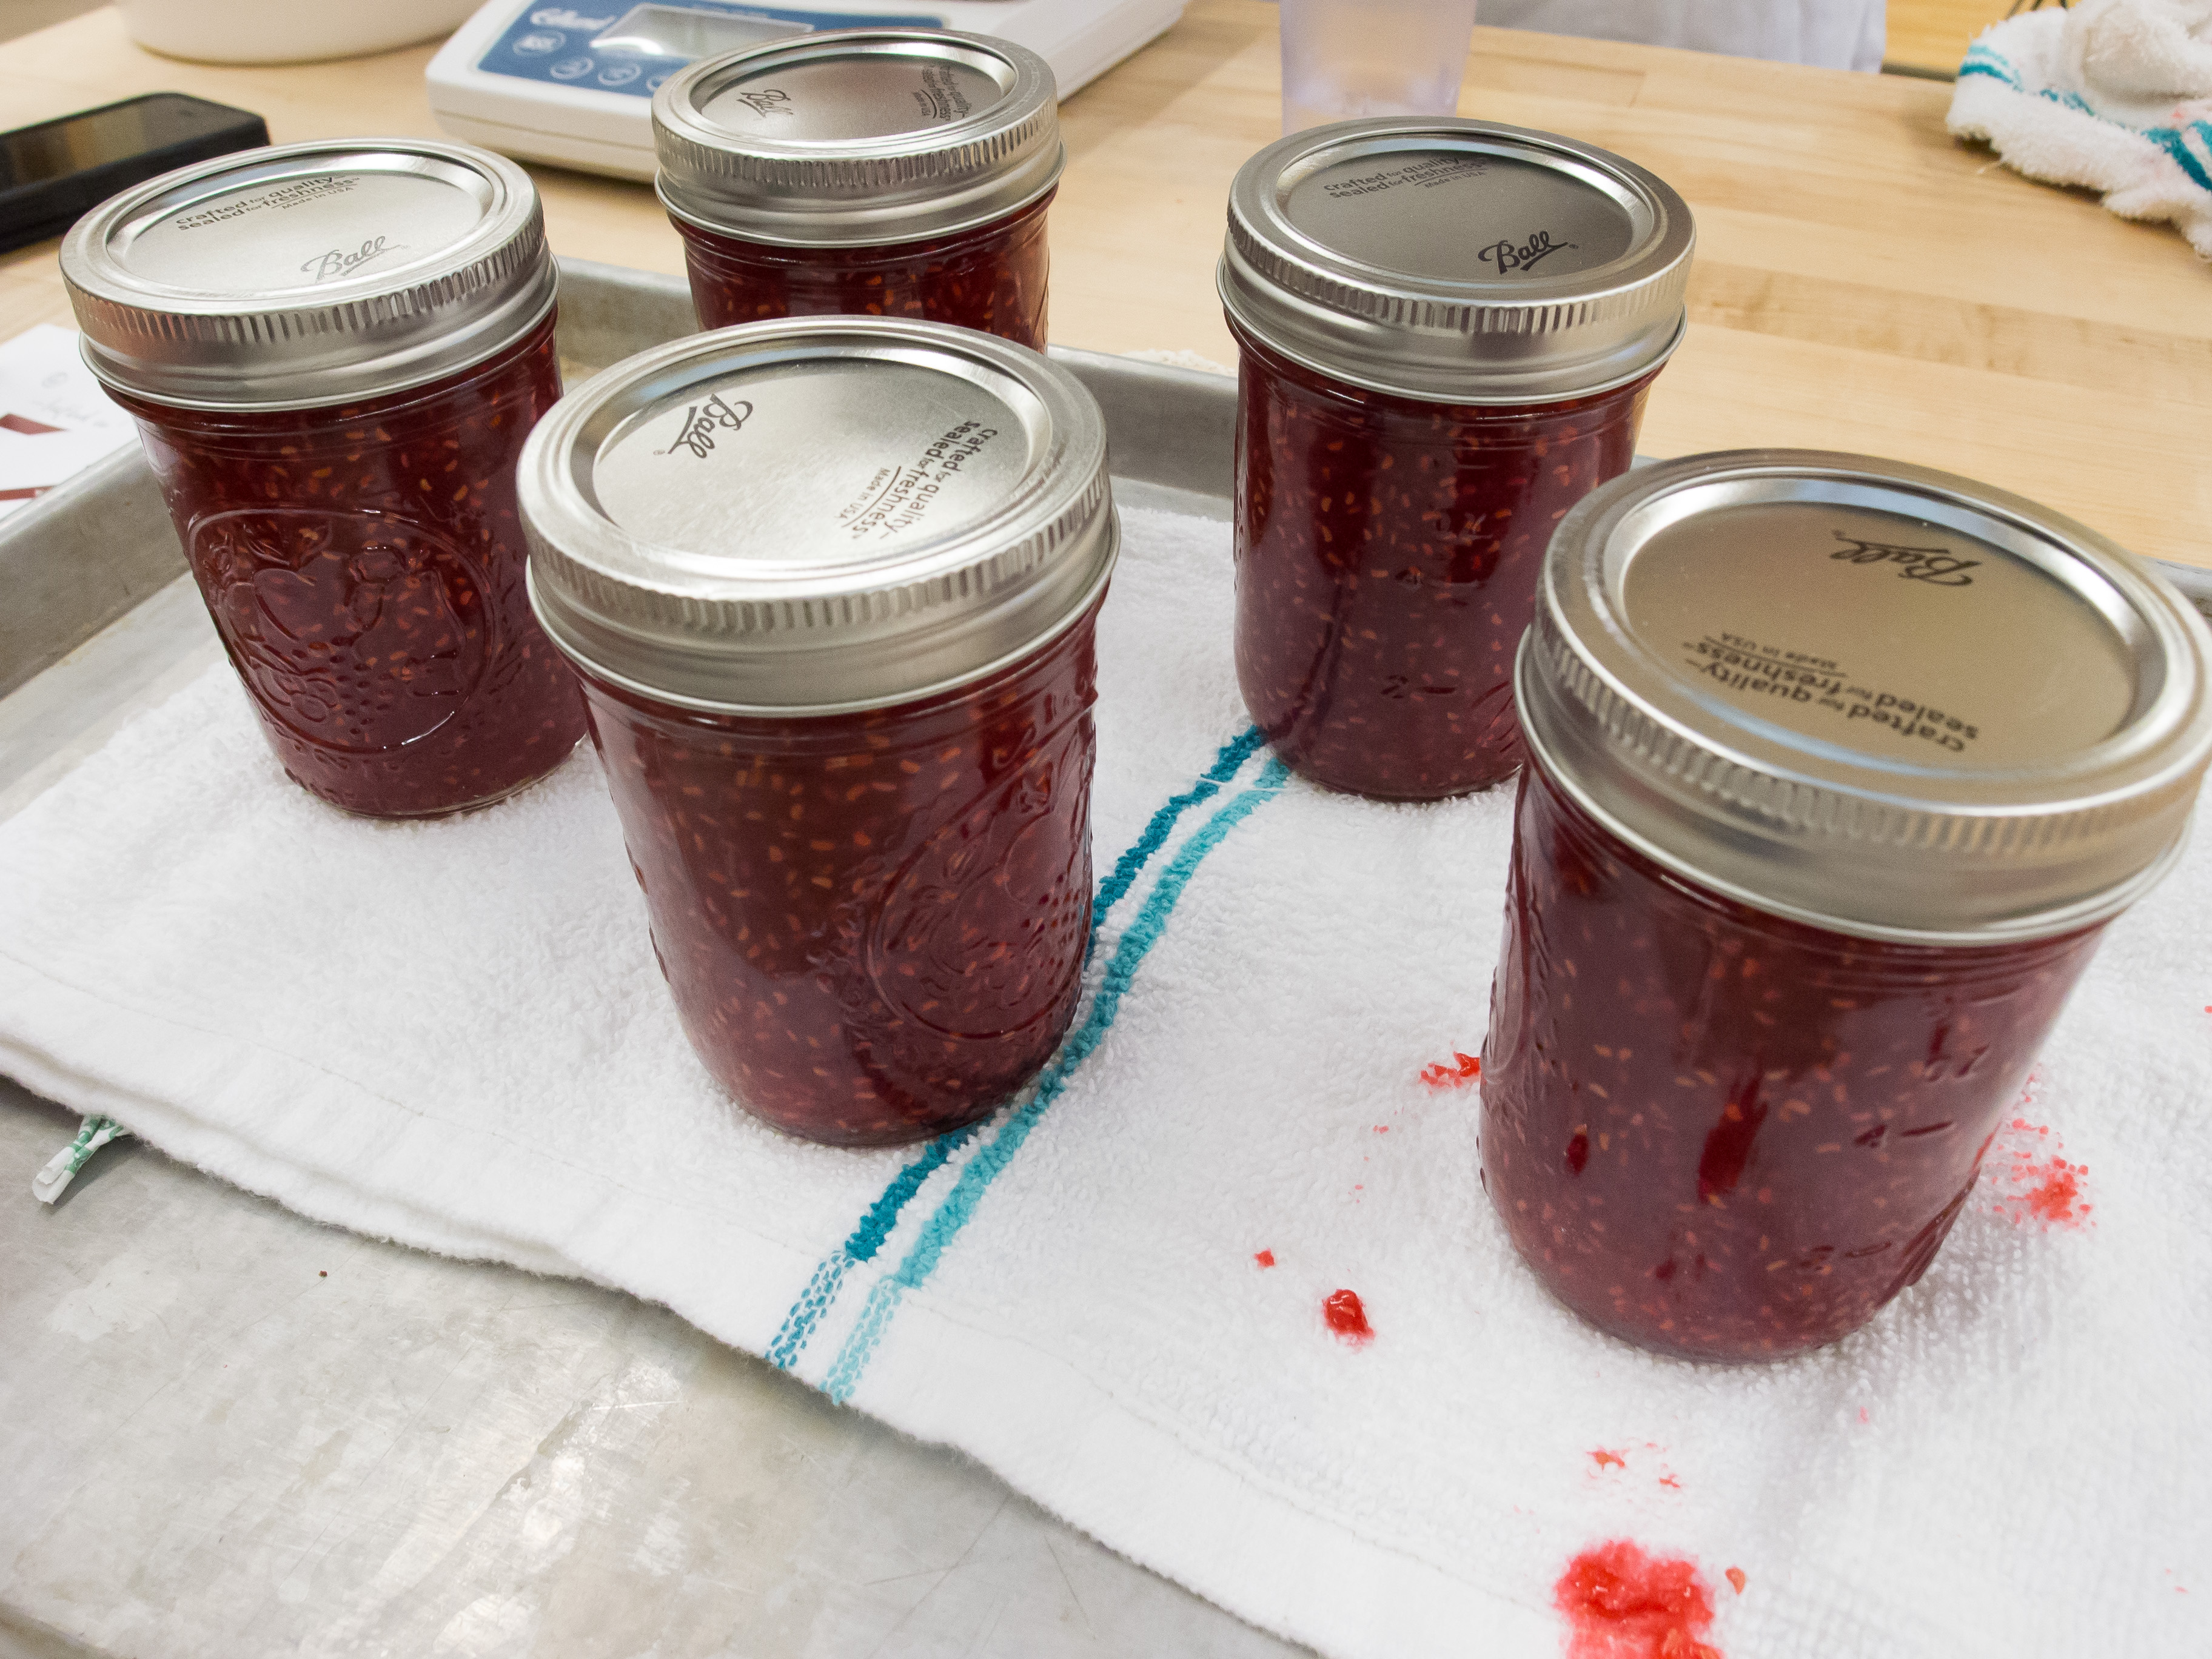
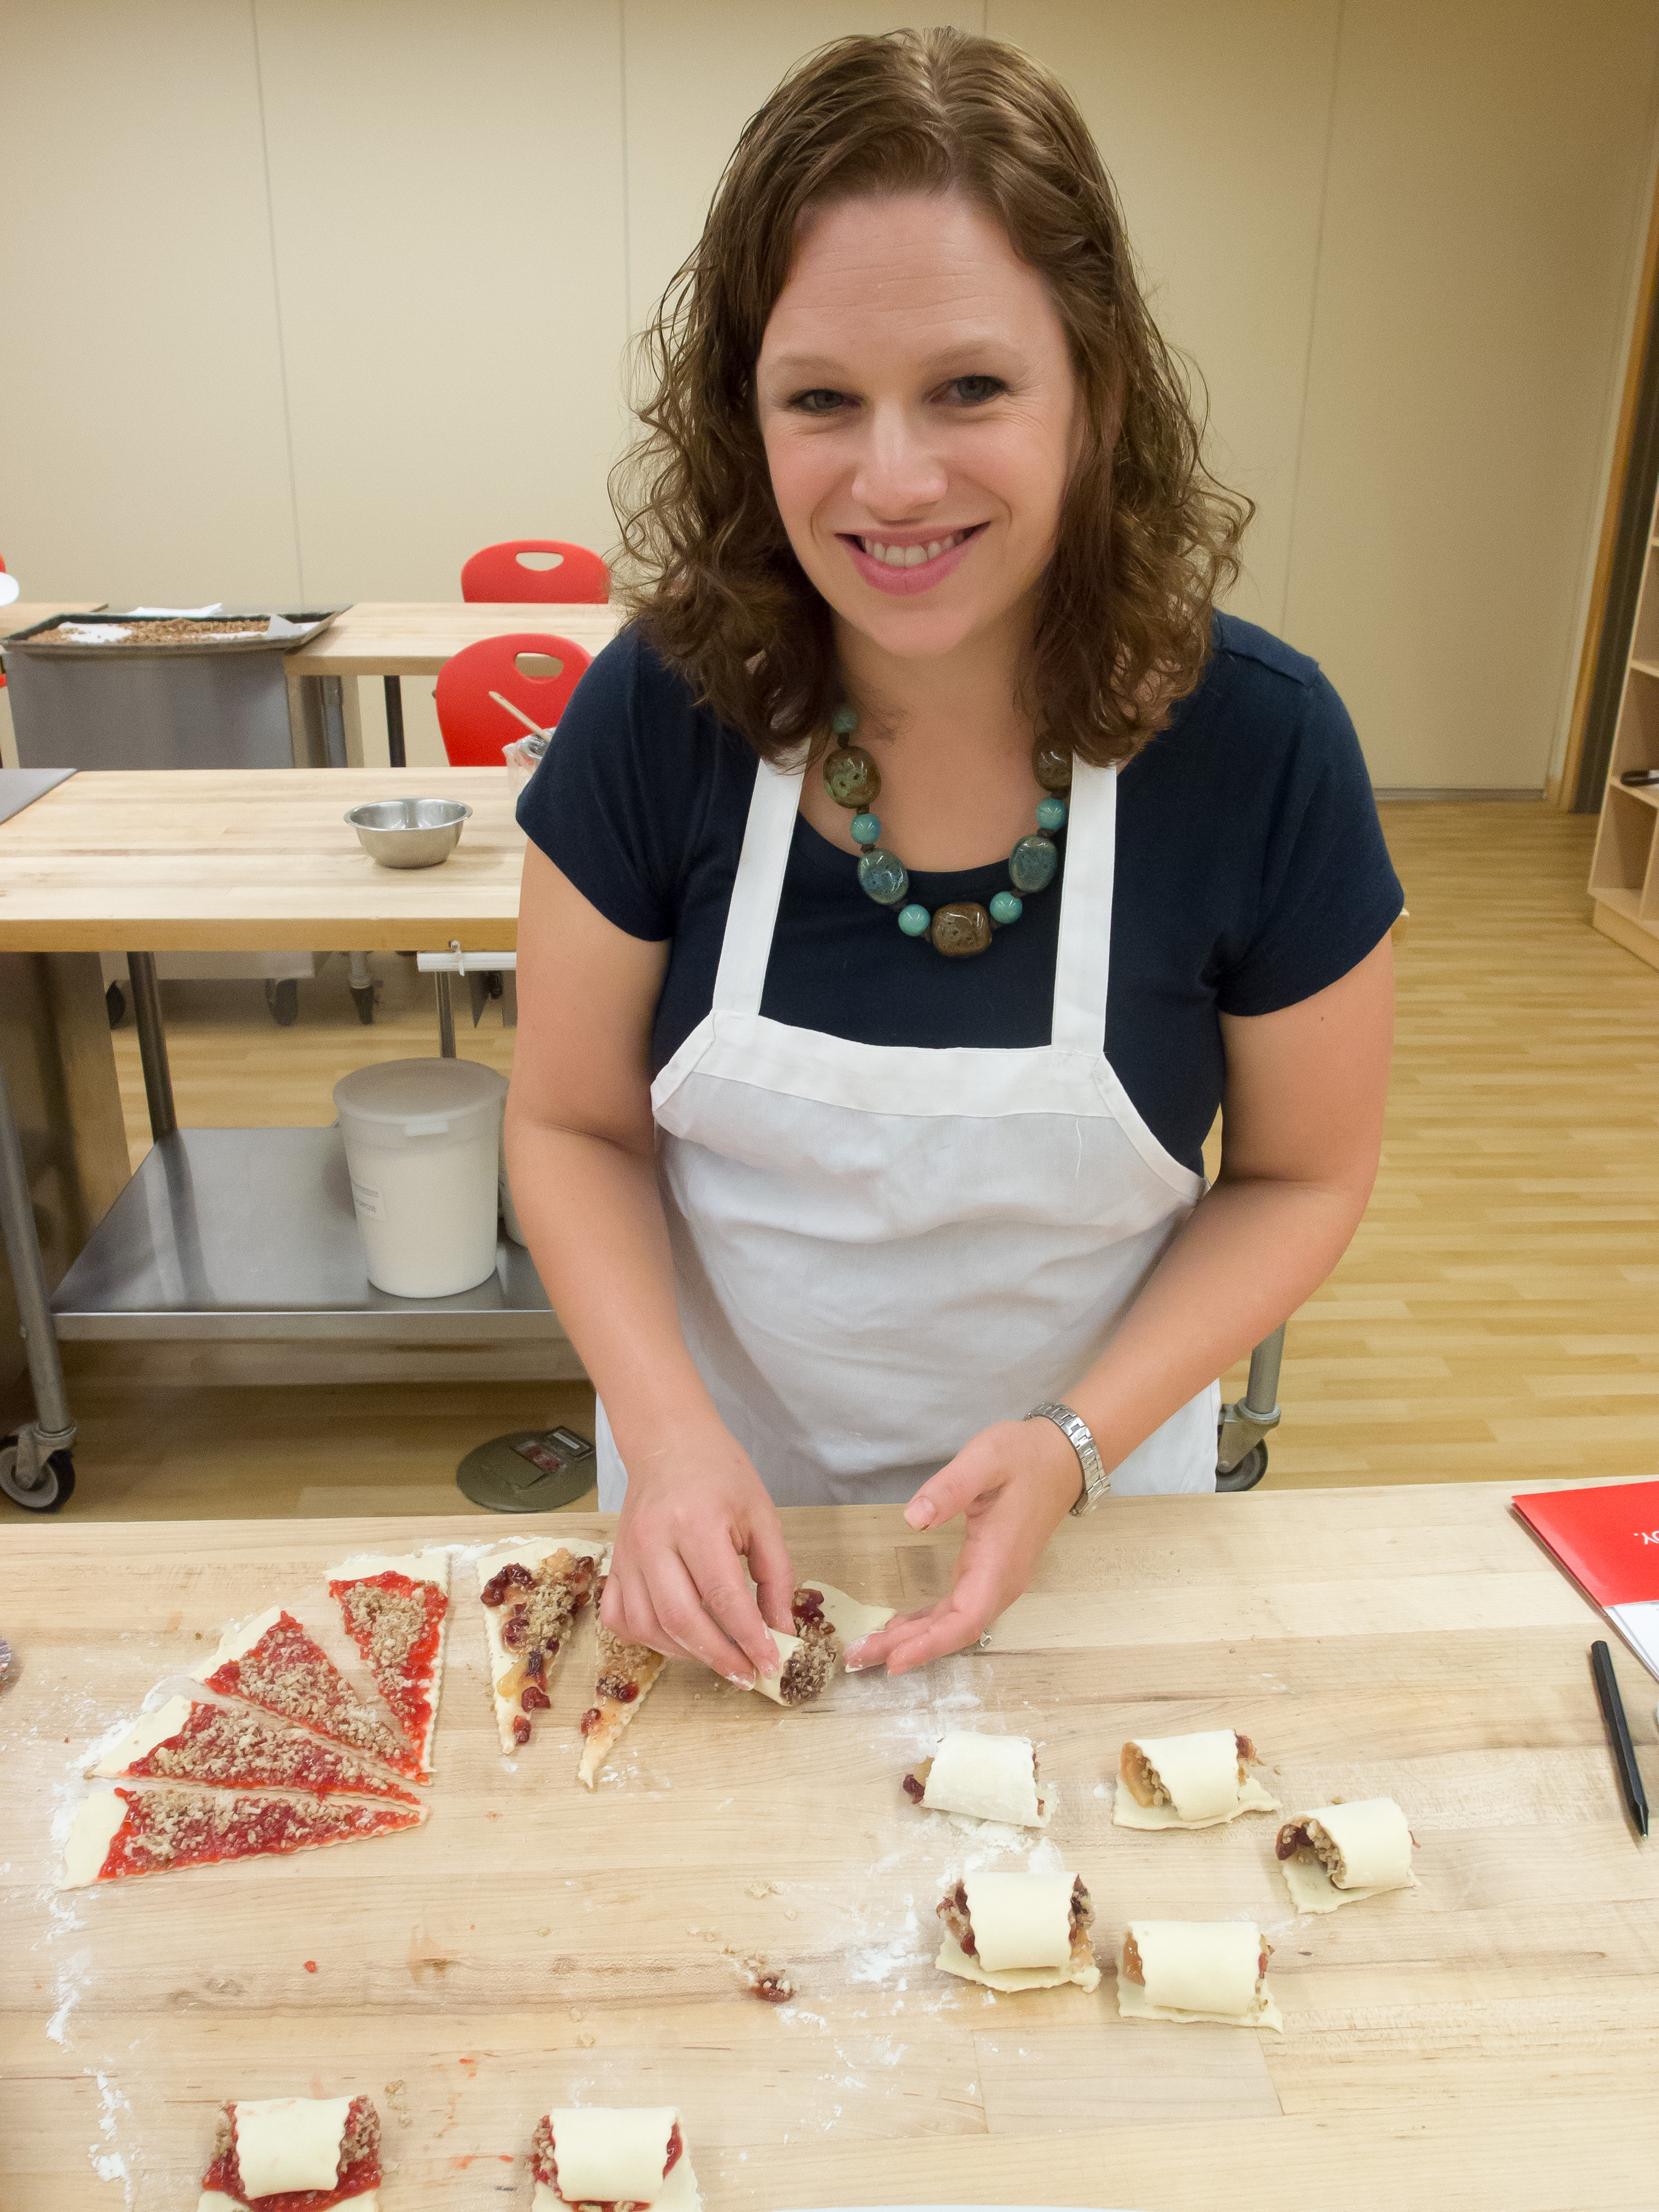
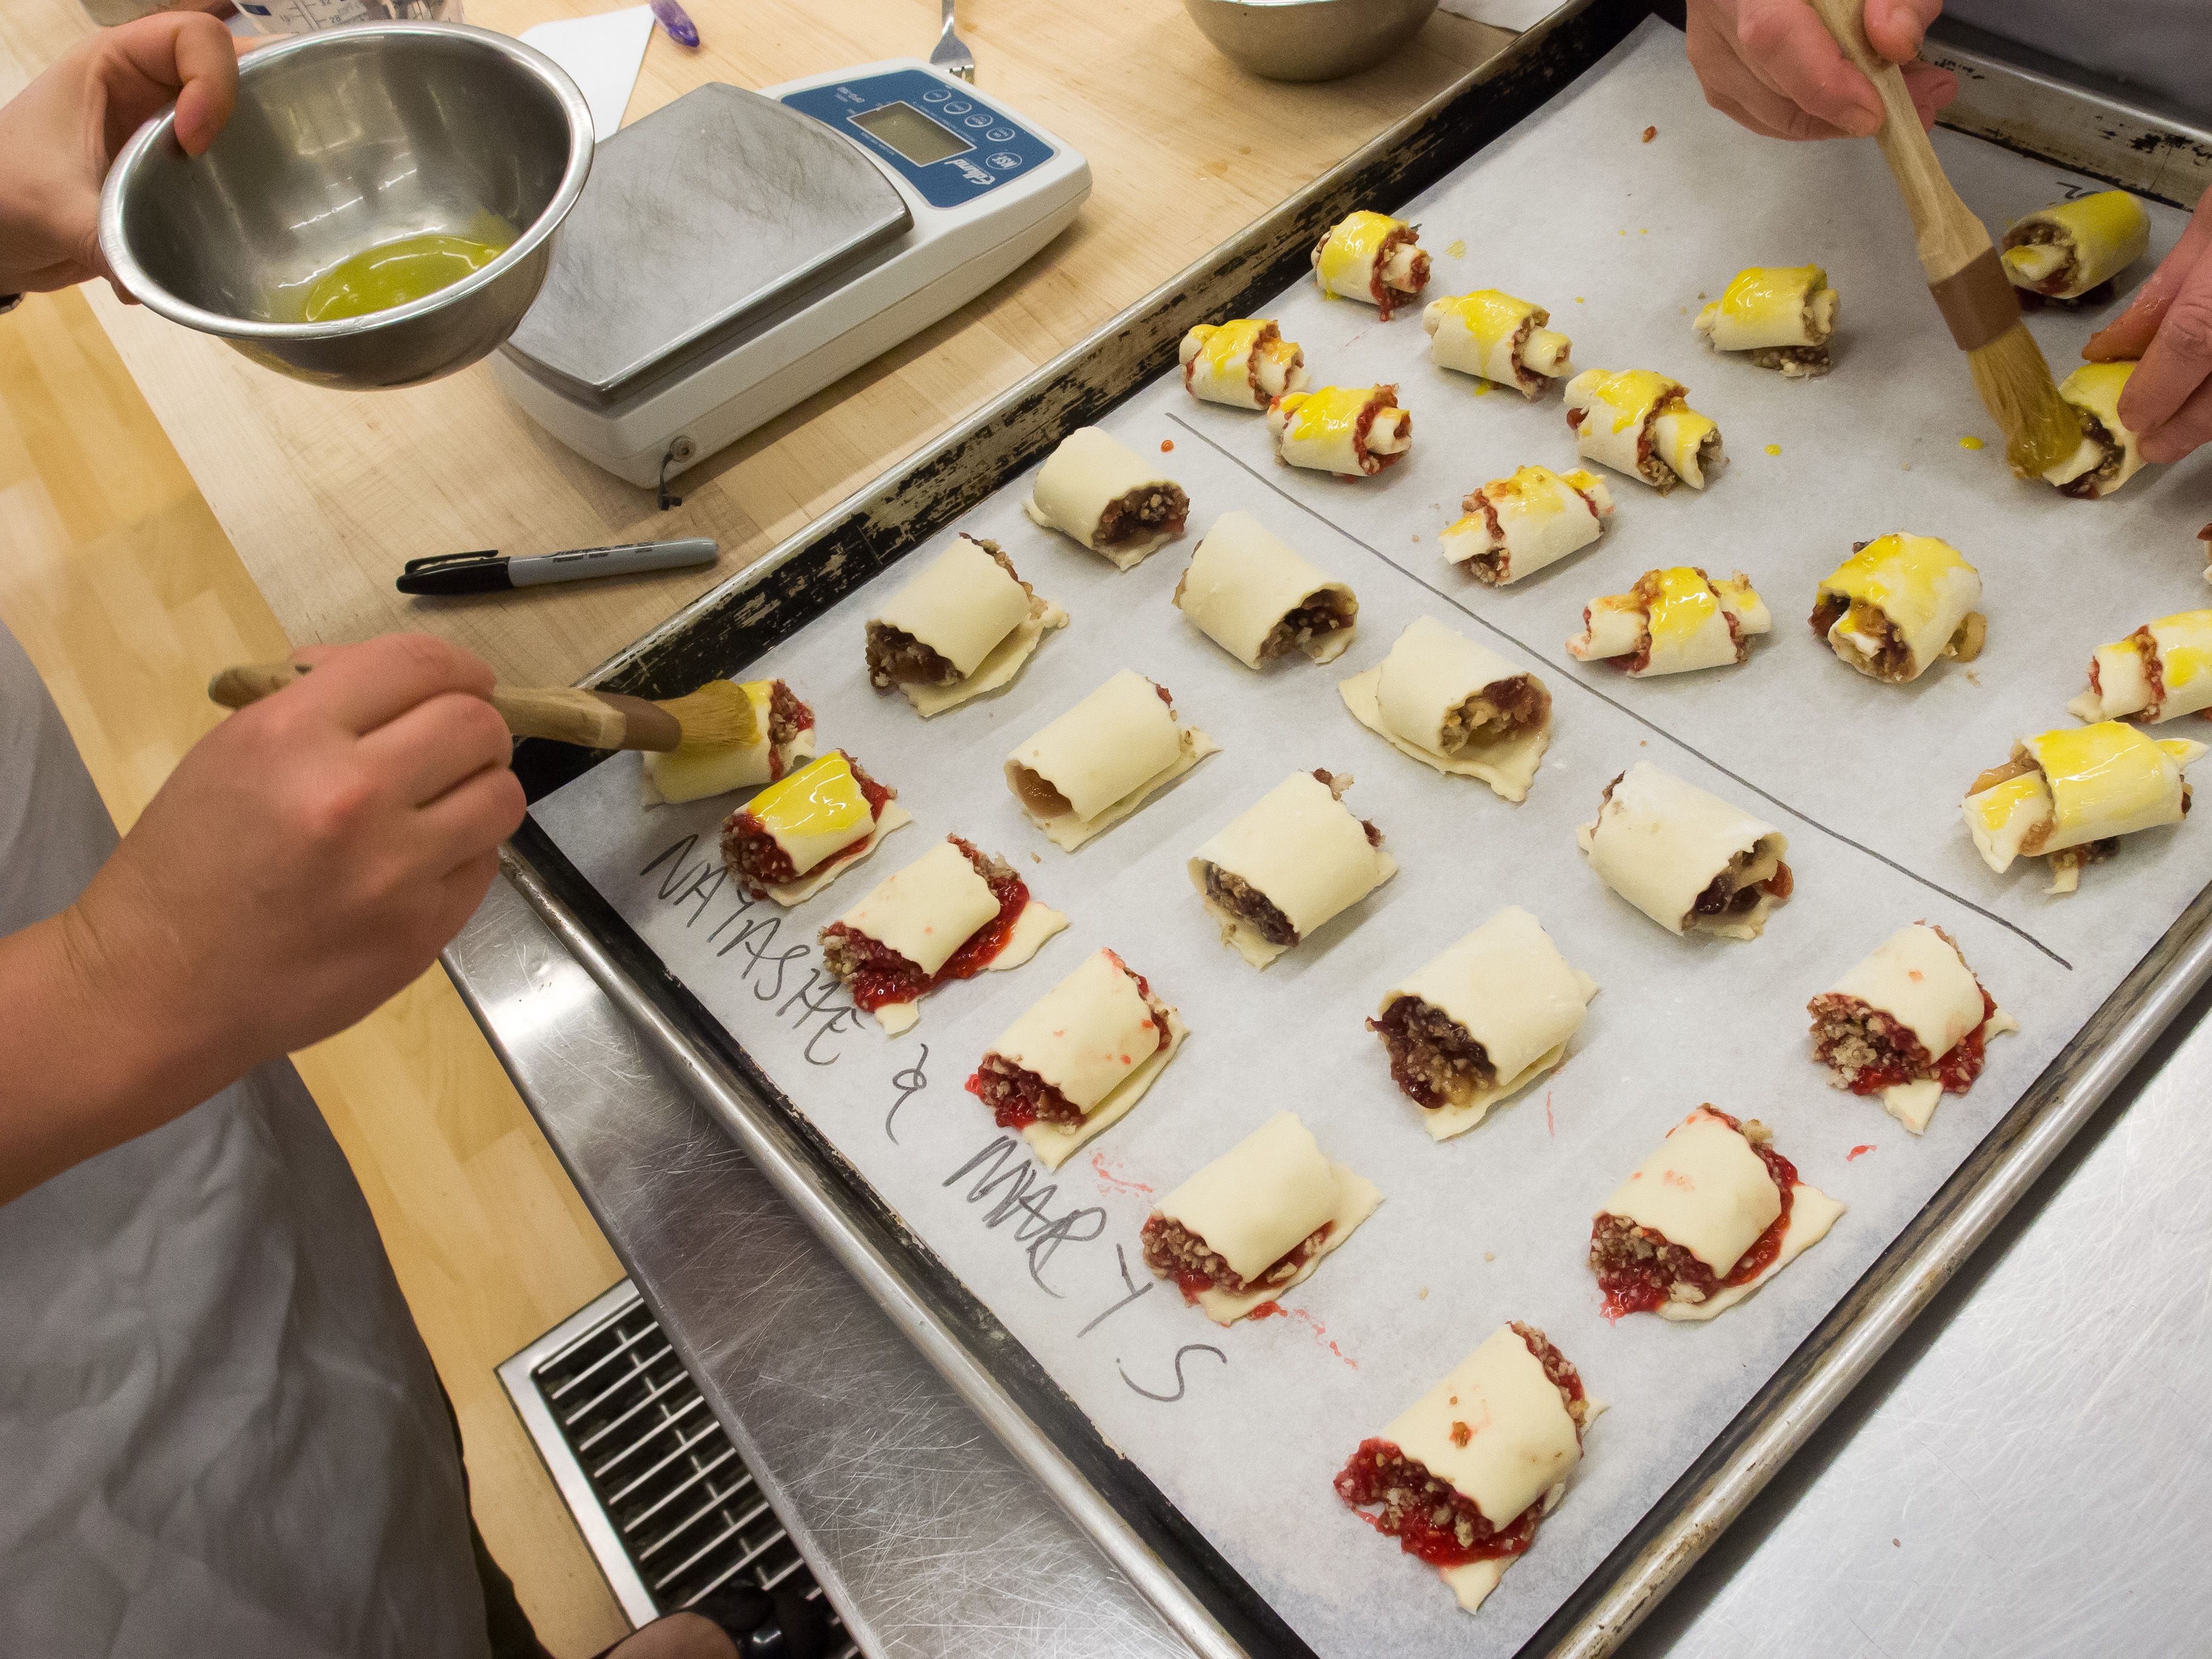
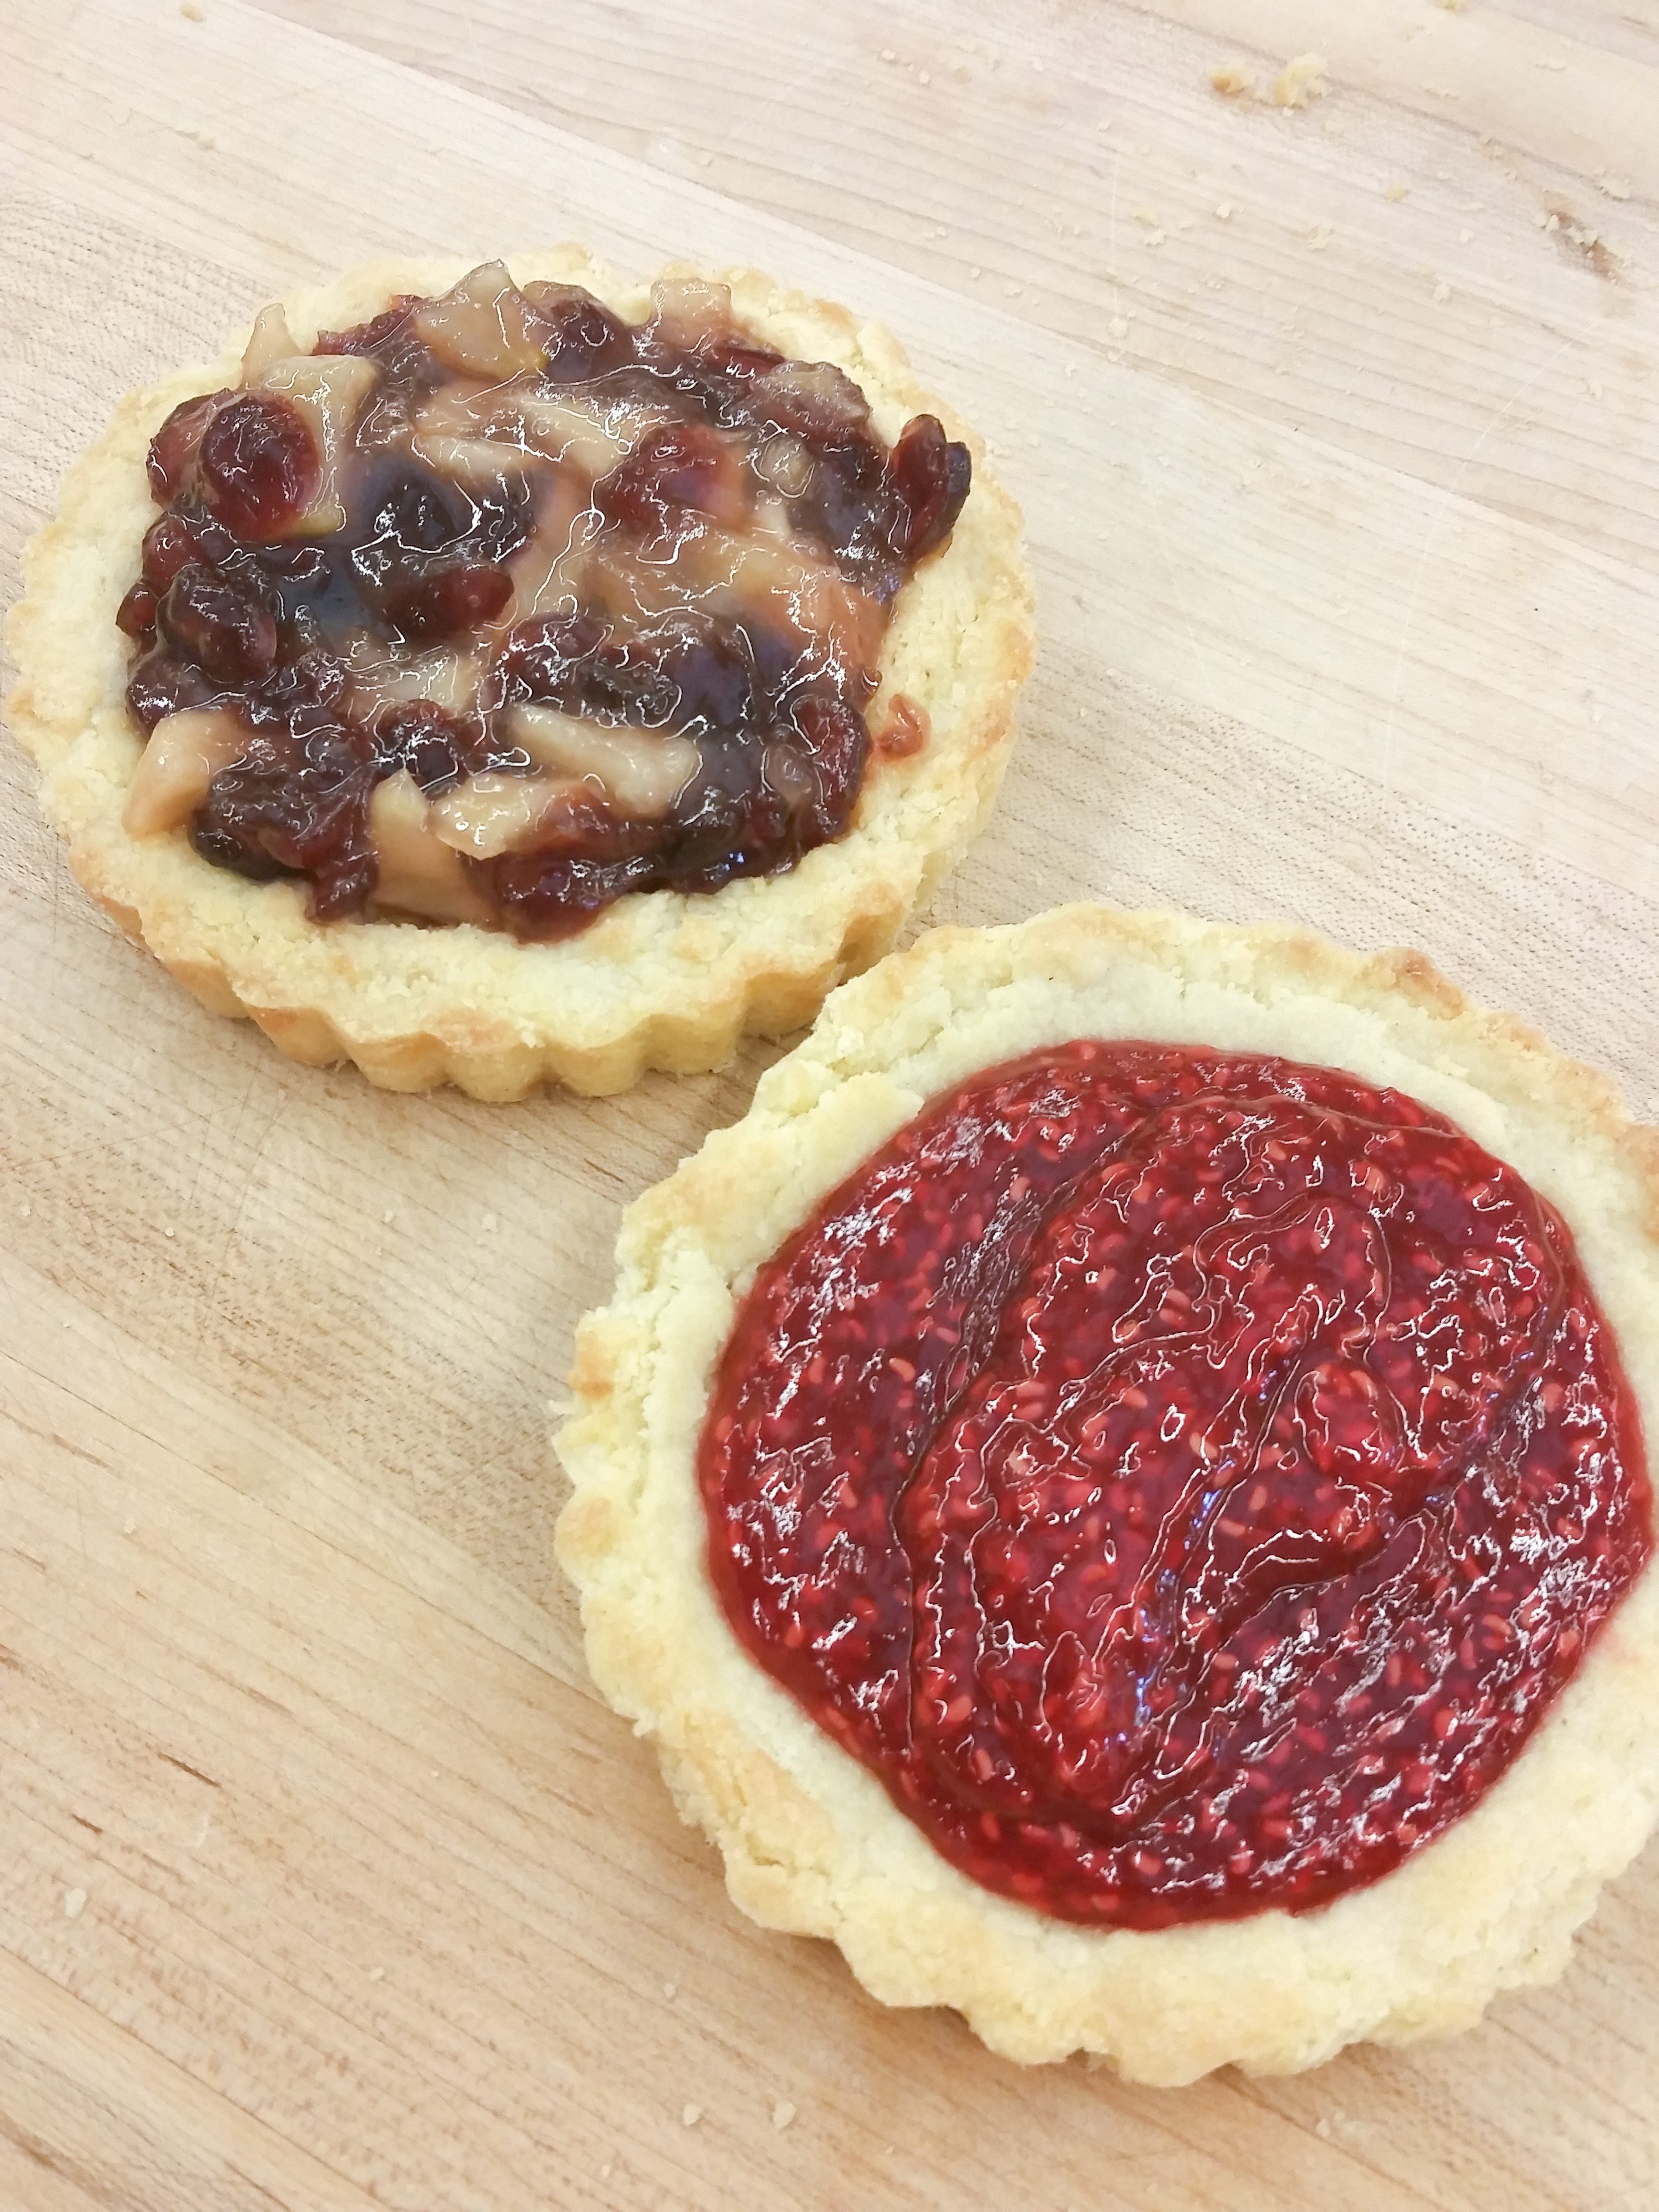
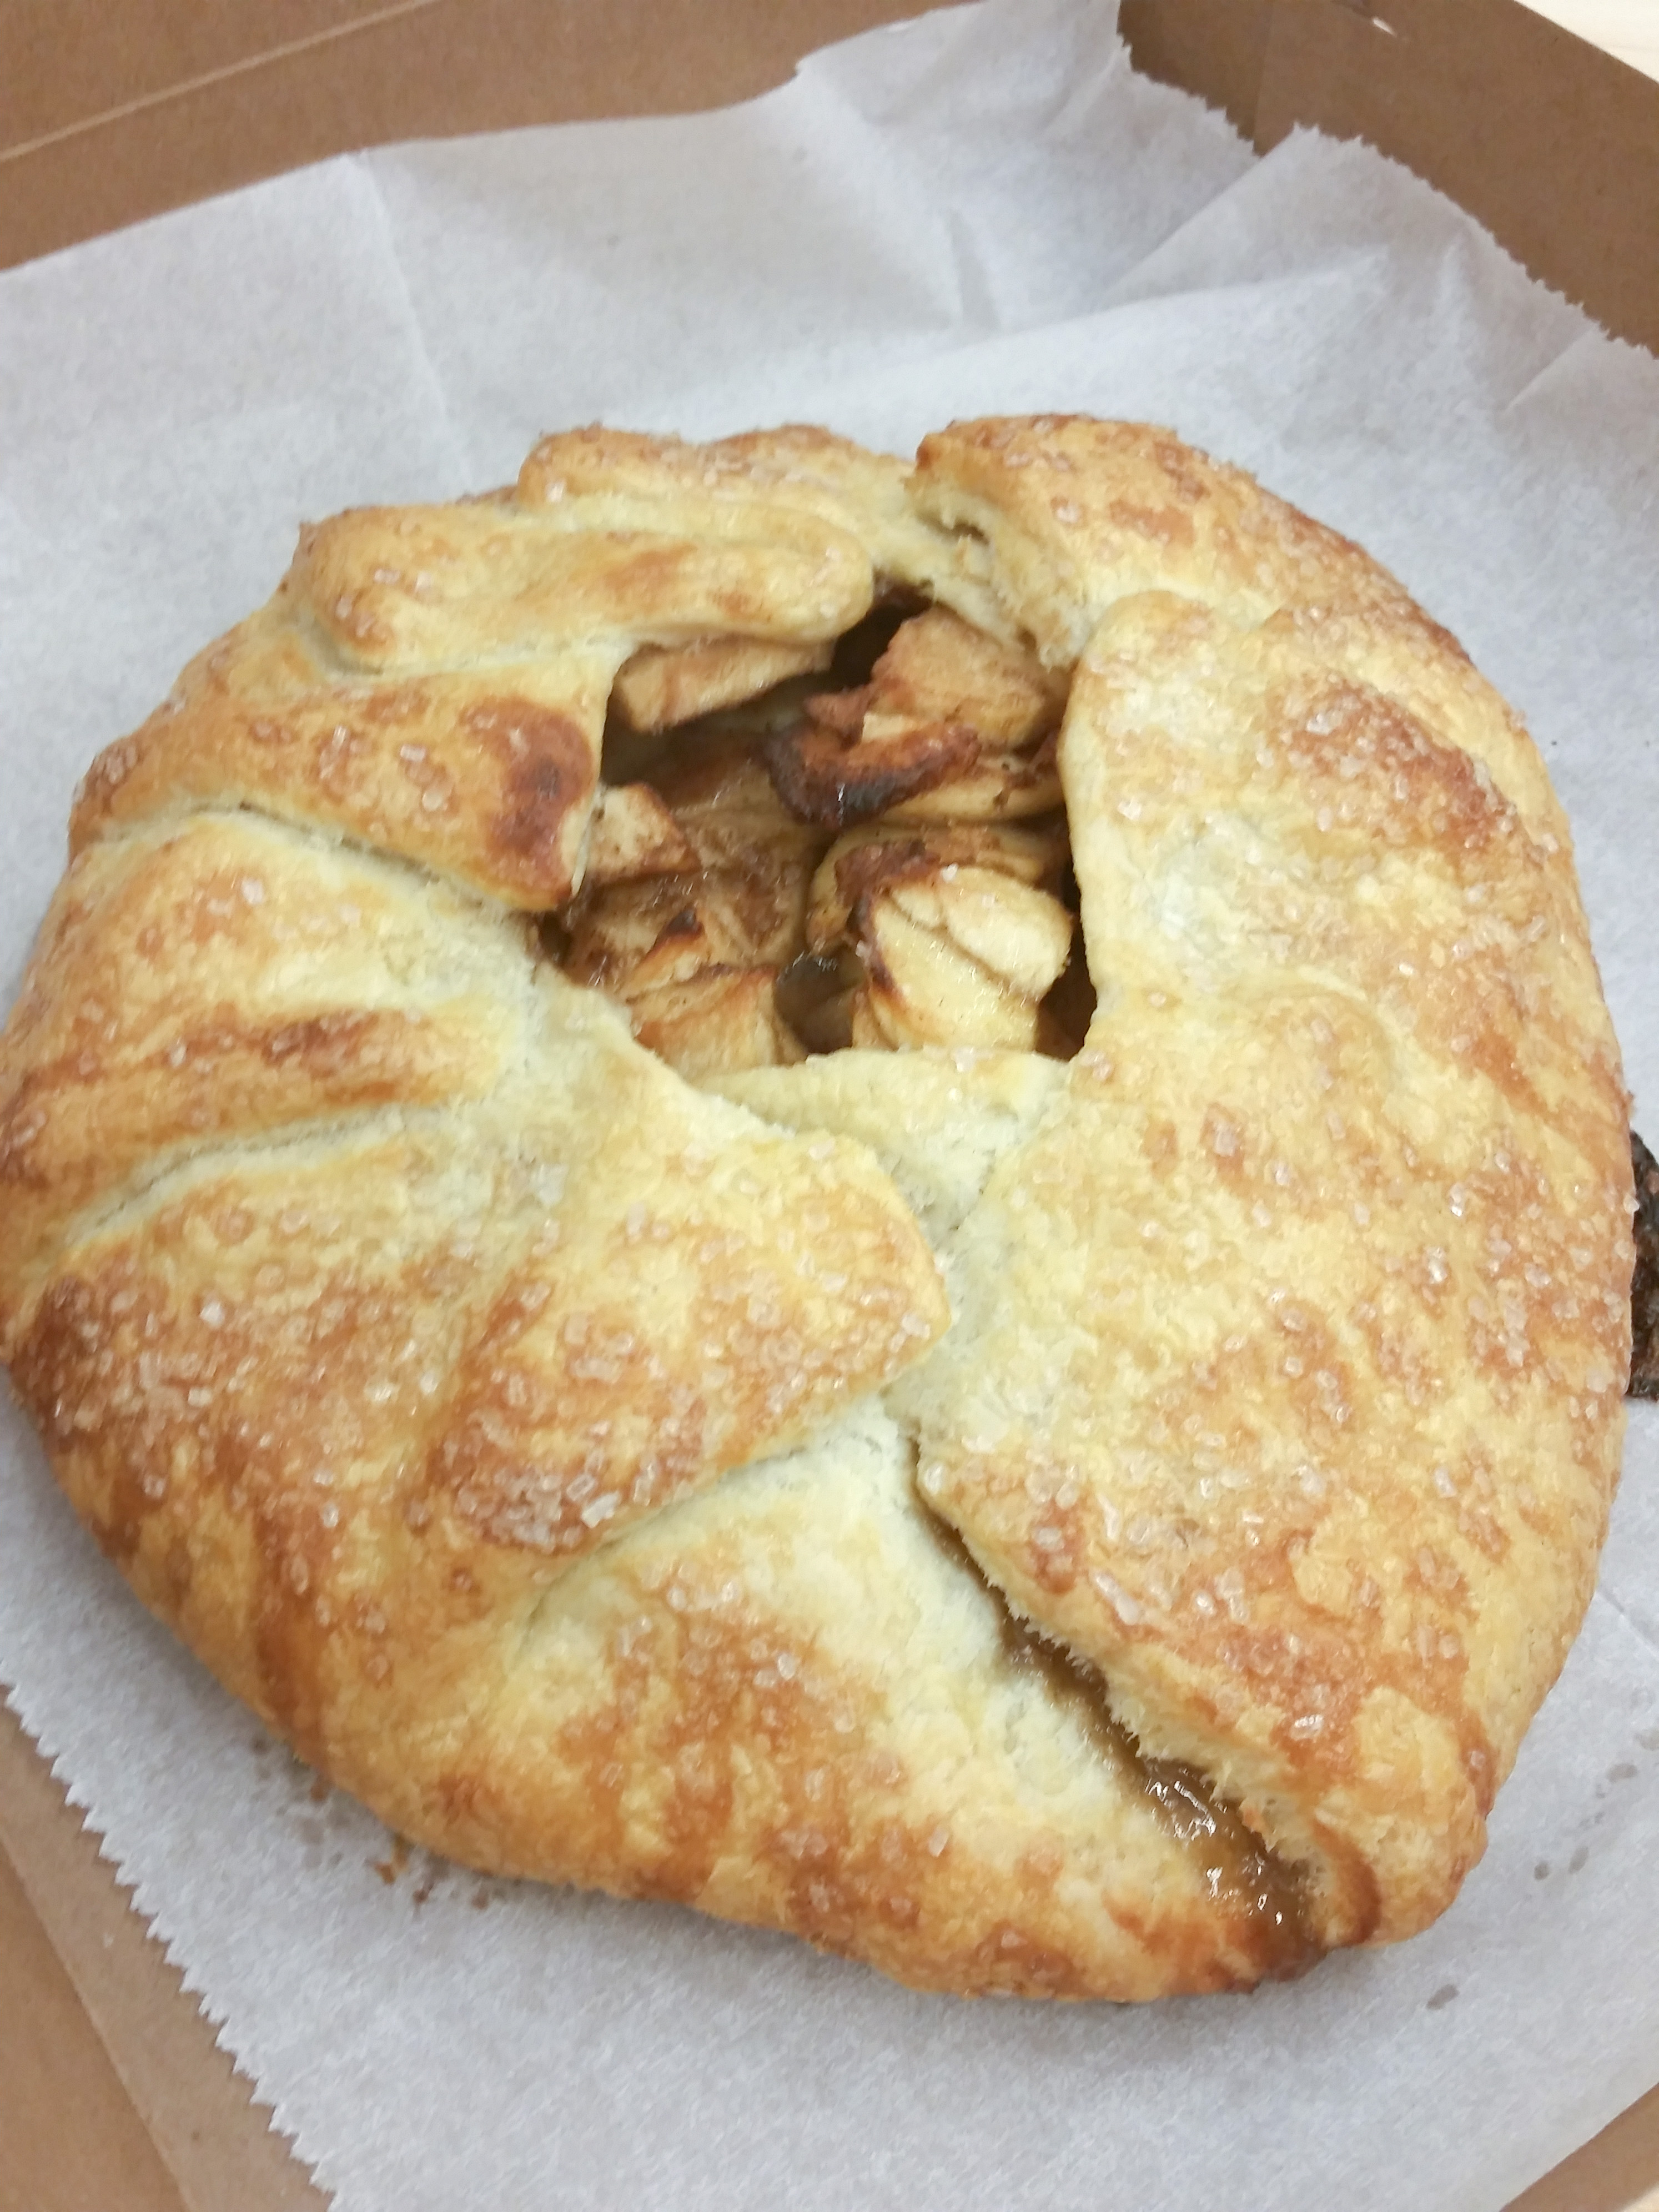
On the first day of the class, we made the raspberry jam, apple pie filling (this can be processed for canning, but we made this recipe in pairs and let it macerate overnight to use in an apple galette the next day), and made the dough for rugelach and the galette. Cathy had made the pear cranberry ginger preserves ahead of time for us to taste and use in our baked goods the next day. On the second day, we completed the apple galettes, rolled out and baked our rugelach (we used both jams), made the dough and baked and filled our jam tarts (again, we used both jams).
Cathy also demonstrated the most amazing focaccia topped with the pear cranberry ginger preserve, sauteed fennel and onions and goat cheese. We sampled that at the end of class, and the class lit up with oohs and aah, it was just that good! We also sampled Cathy’s raspberry jam tart, which was so delicious as well.

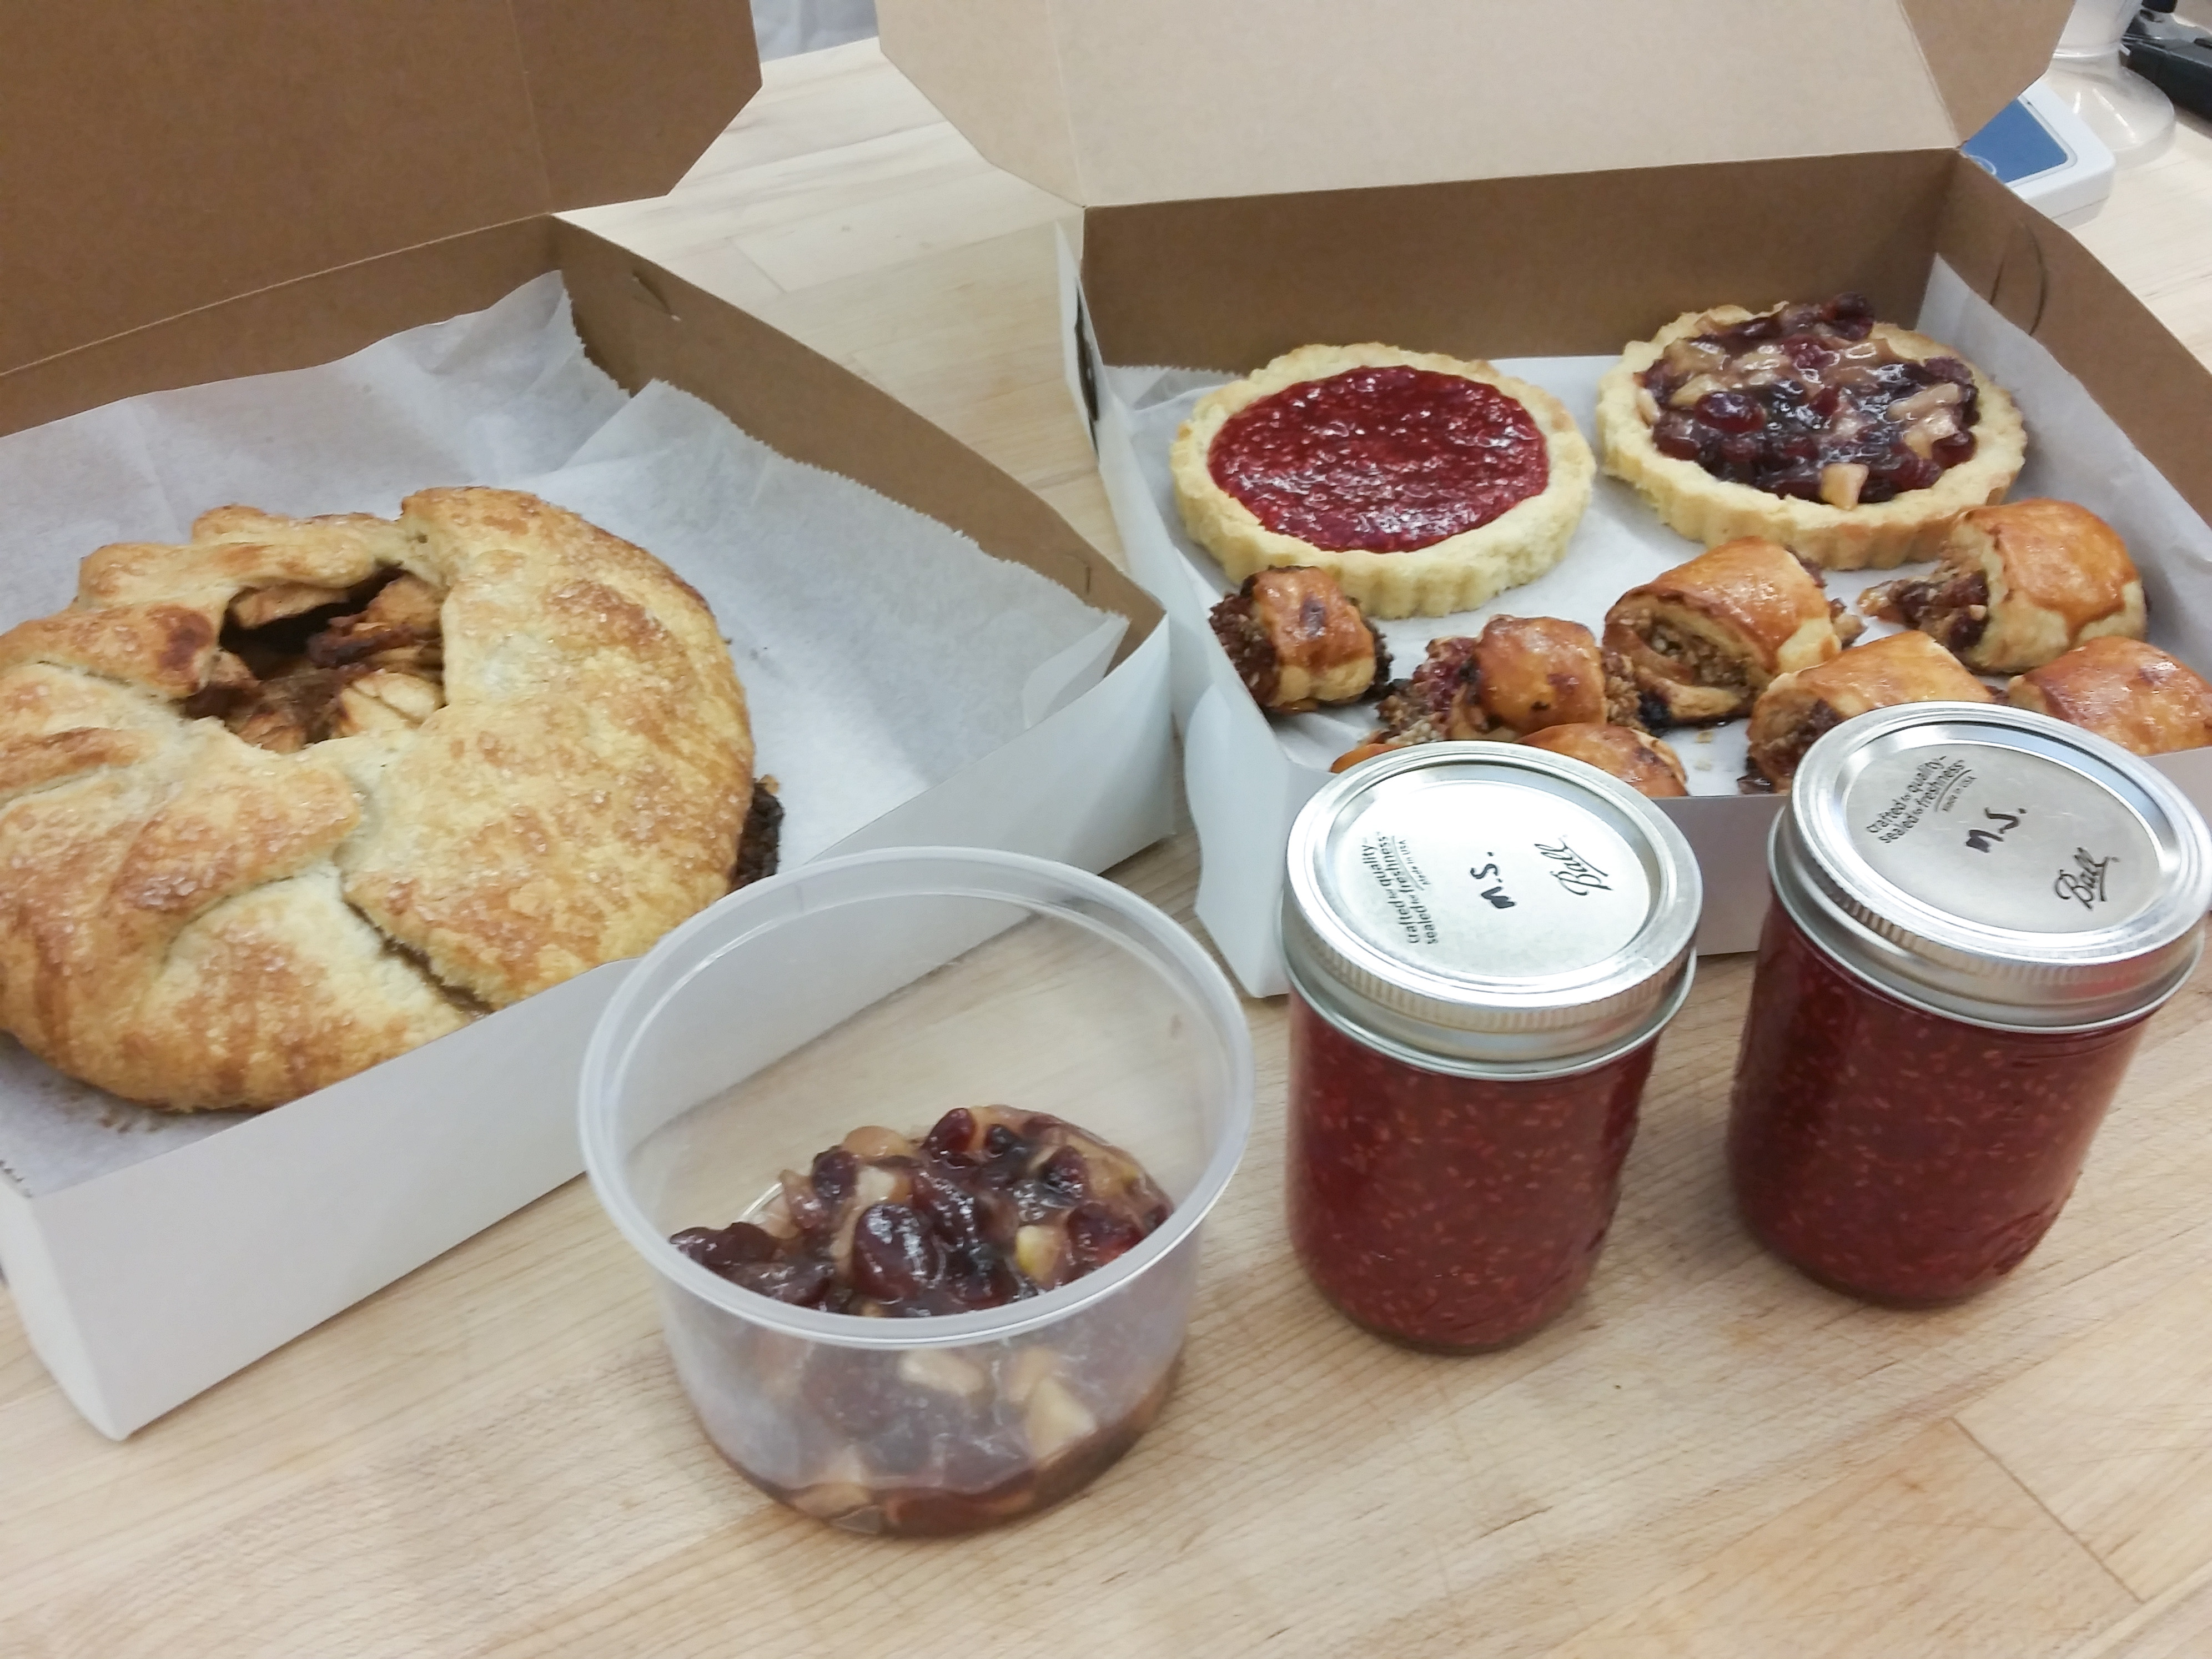
Baking courses are the best as you get to go home with so many goodies – my haul for the two days included 2 half pints of raspberry jam, a small container of pear cranberry jam, 8 rugelachs, one apple galette, a slice of focaccia (shared with my husband at a rest stop heading north), a raspberry jam mini tart and a pear cranberry ginger mini jam tart. That evening after we made it to Montreal, my in-laws were very happy we came bearing delicious gifts!
I really loved the course and felt like I learned so much and was so happy Natashe joined me there and took the class with me. My mind is already brewing as to what I can incorporate from the class in to November’s Harvest Party menu!